Solution for an auto-incrementing Id in CosmosDb
Azure CosmosDb doesn’t have a way to create an auto incrementing id for new documents such a SQL Server has for rows by using an identity column.
However, in one of the solutions I’m working on, I needed to make sure newly created documents would get a Id based on an auto incrementing integer. In this post I will share a solution I came up with to create such a functionality where multiple instances of the same web api can create items simultaneously.
I’ve created a small sample application that will insert multiple Todo items in a collection in parallel.
Please note that for a situation where you have multi region writes enabled, this will require more effort to create a solution that will handle conflict resolution.
First step is to create a document class that contains the last used id.
And a document class for a Todo item.
By using a TransactionalBatch we can insert the Todo item and update the TodoAutonumber class in a atomic transaction. This does requires that both documents are stored in the same Logical partition.
- Retrieve the TodoAutonumber document with a point read, if it doesn’t exist, create it
- Increment the MaxNumber property and use that as the value for the new TodoItem
- Create a TransactionalBatch that replaces the TodoAutonumber document and inserts the TodoItem
- Check errors and create an exception if one of the operations fail
By passing the ETag of the TodoAutonumber document the operation will fail if another update to TodoAutonumber has been done meanwhile.
We can then use Polly (and Polly.Contrib) to retry the operation if it fails because the Id was already claimed during execution (e.g. by another thread or web service instance). I’m using the DecorrelatedJitter method for the back-off period so not all retries run again at approximately the same time.
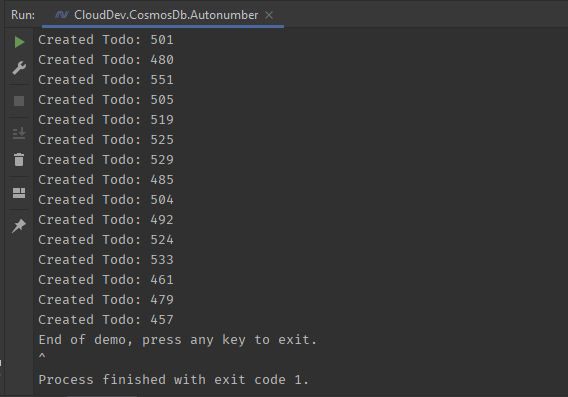
When we now start a batch with 100 tasks at once, in the end all items are created with sequential Id values.
The full sample application can be found here.
The solution isn’t battle-tested in high volume applications, but seems to work ok for the application we’re building.